Oxidation With Liver of Sulfur
Oxidizing your jewelry is an important part of working with bare copper or sterling silver. It’s just a bit of extra work at the end of the piece, but the advantages are both aesthetic and practical. It’s a lot simpler than many people make it out to be, so let’s dive in and I’ll show you how to oxidize with LoS, where to get it, and explain a little bit about why you should be doing it with every piece.
Should I Oxidize?
Yes.
I know that some people love the look of bare copper, and that’s awesome! It does look great for some pieces.
However, I recommend using 14k rose gold-fill if you’re trying to keep that coloration. You can also use non-tarnish wire, but I find that it brings its own host of problems in the long term. Namely, the non-tarnish coating will wear off with regular wear, and cheaper coatings can even be removed while you’re creating the piece. It also prevents you from using heat (ie: annealing wire) during the creation process.
The biggest thing that you need to be aware of is pretty simple: copper and sterling silver will oxidize over time but it’s not going to be nearly as pretty. Natural oxidation is going to leave a spotty surface with uneven coloration, so we just take the natural process into our own hands and control how the piece looks from the start.
I don’t know about the weather in the area you live, but where I’m at in Maryland pieces begin to oxidize within hours of creation. Often the entire outer roll of my wire is already oxidized to some degree as I’m working. Anything I actually wear ends up with verdigris (a green corrosion, think the Statue of Liberty but spottier) within days. Trying to prevent bare copper from oxidizing in this climate would be a fool’s errand.
While there are ways to protect your metal from natural oxidation, none of them are permanent. So it’s best just to take control from the start, especially if you plan to sell the piece. While I package my pieces after being treated with Renaissance Wax and try to include a scrap of polishing cloth, it shouldn’t be on the client to have to maintain their piece.
As far as aesthetics go, I find that oxidation provides a much deeper look to a piece, especially if weaving has been incorporated. It makes colored accent stones pop better.
The only real drawback is having to oxidize the material in the first place.
Breaking it down into pros and cons might make it simpler.
Advantages of Oxidizing
- Bare metals are going to oxidize anyways, this allows you to control the process.
- Your customers won’t be surprised that the piece changes color, we can’t expect them to be up to par on metallurgy. That’s our job.
- It protects the piece from actual corrosion in humid, salty climates.
- It looks great on the vast majority of pieces.
Disadvantages
- Not everyone has the skills and knowledge to do it properly, which is probably why you’re here in the first place.
- It’ll take around 20 extra minutes per treatment.
- Each batch of liver of sulfur adds a few cents to the cost of a piece.
The latter two problems can largely be mitigated by batching your pieces, which I’ll be describing as we go on.
That said, let’s get to the more practical instructions!
What About the Stones?
Not all stones are suitable for dipping in your liver of sulfur.
The main problem is porosity rather than hardness. While pumice, for instance, is actually a 7 on the Moh’s scale, it’s going to absorb a ton of the liver of sulfur solution and discolor and smell terrible afterward.
As a general rule, agates, jaspers, quartz, and the majority of gemstones used as accents (ie: tourmaline, garnet) are going to be fine even with a prolonged dip. The main exception you’ll run into is opal.
Any copper-bearing stone also needs to have care taken in treatment as well, including things like malachite and turquoise.
Now, you can still oxidize pieces with these stones but there is some risk.
I’ve personally dipped opal dozens of times and have only ever screwed one up when I was doing an actual test to see what would happen. The way that I proceed is by doing short dips in a moderate strength solution, roughly 10-15 seconds at a time, and wiping down the stone in between dips.
But a better solution would be to remove the stone from the setting before oxidation and replace it after but before polishing. If you proceed with using copper-bearing or porous stones then you’re doing so at your own risk, and it may not be a bad idea to take a less valuable piece and mess with it to determine what your margin of error is.
What You’ll Need
You don’t need a whole lot to get this set up. Just make sure you have the following:
- Liver of Sulfur- I prefer gels like the one in the link. These tend to keep better for longer, but the solid form can be cheaper if you have climate controlled storage for it and use it frequently.
- A Jar or Two- I use sauce jars from normal cooking. Dedicated mason jars aren’t a bad idea either, but I wouldn’t trust them with food after using them for this process.
- Scrap Wire- I use a bit of 24g or 28g for batches.
- Latex or Nitrile Gloves- Liver of sulfur isn’t super toxic, but it’s better to not come into contact with it if you can avoid it. Latex or nitrile gloves make it easier.
- Polishing Cloth- We’ll be using this to touch up the high spots on the piece. You can also use high grit rubber wheels on a rotary or flex-shaft(generally 2000+ grit), or felt pads with some kind of polish which will speed things up.
- Your Work- I prefer to batch 5-6 pendants or rings together at the same time to save money/materials. You can do pieces singly if you’d like.
- Dish Soap- Since we need to ensure there are no surface oils on the pieces.
First Things First: Wash Your Work
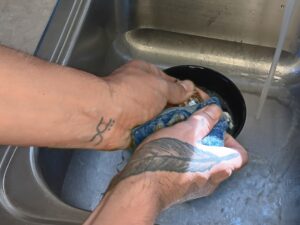
As we work with our materials, our hands leave a barely perceptible coat of oil on the surface of the metal. We need to remove this in order to get the reaction working evenly across the piece.
This is particularly important with wire wrapping and weaving since the material is handled a lot while the piece is being assembled.
The good news is this part is simple: just wash it with dish soap and a sponge.
It’s not a bad idea to wear gloves during this part of the process, since it will prevent you from getting more oil on the piece. It’s not required though, just try to handle them minimally once you’ve given them a good scrubbing.
Heat Your Water
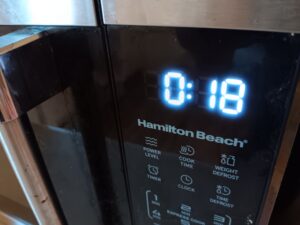
Now, take one of your jars and fill it with water. It doesn’t have to be completely full, but it has to be able to cover the piece.
I use the microwave for this. Generally, I heat my water in 30-second intervals until it’s steaming, generally in 2-3 cycles depending on the amount of water that I’m using.
The heat of your solution is one of two factors that will have a serious effect on how your reaction goes, the hotter the water the more quickly things will act.
It’s important not to get it too hot, as the oxidation can become thick and flaky if the reaction happens too quickly. You also don’t want to burn your hand while setting up.
While the water is heating, string your work on a piece of scrap wire and leave 12-18” of extra wire above where you’ve looped the pieces.
I tend to just twist the wire back in on itself after stringing, leaving myself with a considerable tail like so:
Create Your Solution
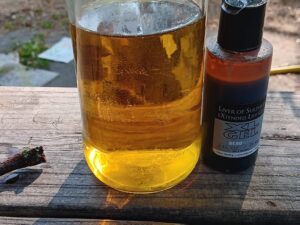
Take the hot water somewhere with good ventilation. If you’ve never used liver of sulfur before, you’re in for a treat. It smells like rotten eggs.
I generally just perform the reaction on the deck to avoid having to smell it indoors.
While the water is still hot, squeeze a bit of your liver of sulfur gel into the solution. Use it sparingly, it doesn’t take much at all and you can judge the strength of the solution by it’s color. You’ll want something disposable to mix it with, plastic spoons work well but I generally just grab a stick from the yard.
Aim for a yellow but transparent color like that pictured above, if the solution is steaming hot and you aim for that strength you shouldn’t have any problems with over-oxidation. The strength of your solution is the second part of controlling the speed of the reaction.
Time to Dip!
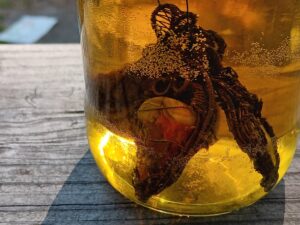
You’re now going to dip your pieces in the solution.
There are a few ways to go about it, but I tend to just grab a stick and wrap the wire around it several times. Then I kick back and mess with TikTok for five minutes, check on the progress, and put it back in. Just repeat until you have the desired result
With my normal strength of solution and heat it usually takes about 10 minutes to form a deep black layer on the copper. Check all of your pieces each time you pull it, sometimes one will have more trouble than the others and an extra 5 minutes isn’t going to hurt anything.
With sensitive stones you’ll have to take a more active approach, I generally dip for a 30-count at a time and wipe off the stone in between dips. Keep in mind this is risky, there are safer ways to do it if you’re not used to working with liver of sulfur.
Once the pieces have reached the proper coloration, I drop them in a second jar of regular water. Be careful if you have a particularly hot solution and do this, since thermal shock can occur and crack some stones.
Another Wash, Then Time to Polish

I then take the stones back inside and run water over them. You can also use a few tablespoons of baking soda in a bowl of water to completely neutralize the liver of sulfur, particularly if the water where you live isn’t very alkaline (ie: hard).
I dry them off with a dish towel afterward, or you can let them sit for a few minutes for the water to evaporate.
Then you’ll need to bring the pieces back to your workspace and polish them up. I use Sunshine Cloths for this most of the time, but I’ll use a felt wheel on my Dremel with Zam if I have quite a few of them to work through.
One thing to note: you may want some tweezers (or tweezer nose pliers) if using polishing cloth or felt on a piece that has complex weaving. On occasion, you’ll get some stray fibers caught in the piece and a pair of tweezers will make for easy removal.
At this point, you’ll want to let your artistic abilities take over. There’s no exact science to this, but I will note pure black will tend to flake off over time if exposed. You can get away with, say, a black piece underneath a coil but exposed black will flake.
At this point, you can either treat with a protectant (I use Renaissance Wax) or you can just put it in a jewelry bag to prevent further oxidation before shipping.
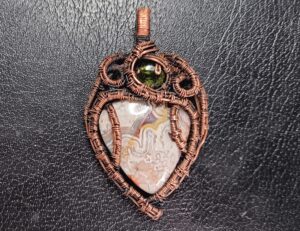
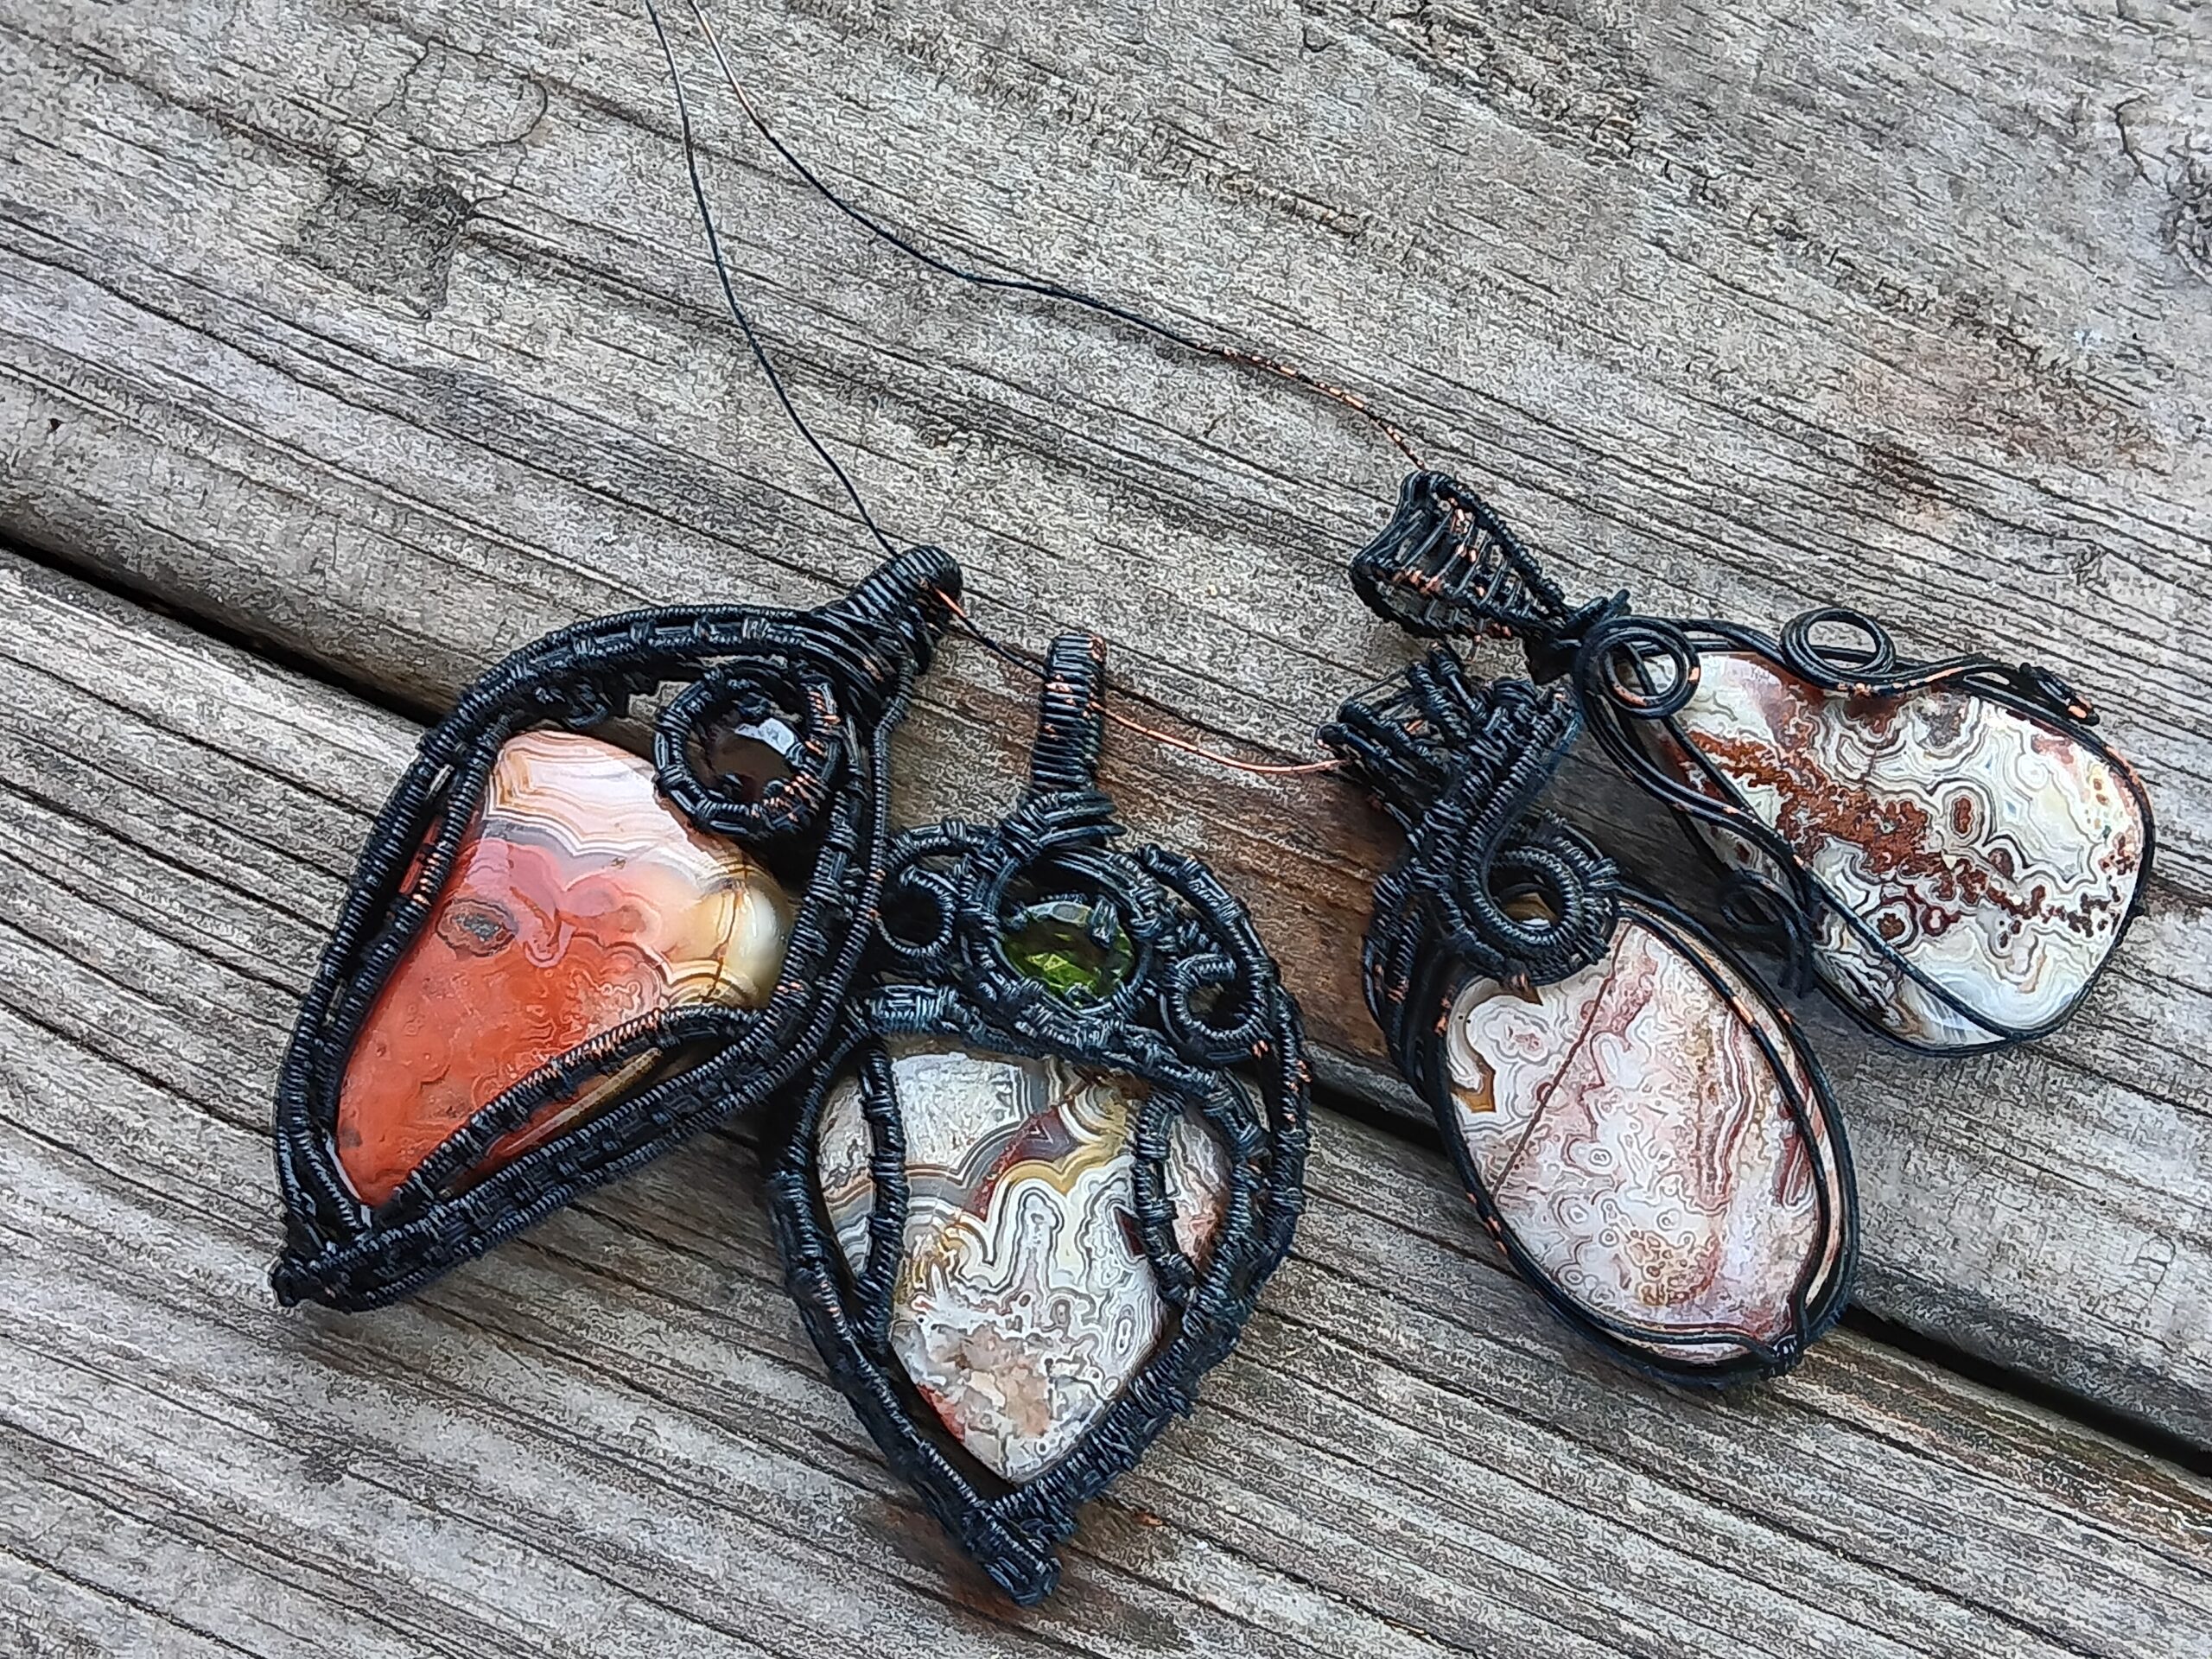
As you can see below, the use of oxidation added a lot of depth to this piece, highlighting the weaving and making sure the client receives what they’re actually looking at.
So give it a go!
