Wire Wrapping Concepts: Framing
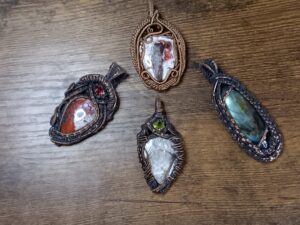
One thing that almost all complex wire wraps have in common is that they’re based on a frame. This frame makes up the structural part of the weave and allows for both locking in primary gemstones and serves as a base for tying on other components. It’s a pretty easy process, but a lot of people don’t like showing the backs of their pieces so it’s not something that every beginning wire wrapper will see.
I, however, don’t have any such hang ups. Let’s take a look at how to create a frame, lock things in, and get yourself started on something a bit more complicated than a simple wrap.
What You’ll Need
This is just how I do my frames, there are plenty of ways to do it. In actuality, I prefer to solder my frames together at a couple of points, but the end result is going to be pretty much the same either way.
You’ll need the following materials to follow along:
- 18g Square Wire- 20 gauge is also acceptable. Round wire can be used, but it’s a headache since your attachments will tend to move around a lot more and you’ll need to squish them down.
- 22-24g Half Round Wire- I generally use 24g for the bail. If you don’t have it on hand, you can use any weave you’d like for the bail of the piece, I often use a figure-8 weave with 28g wire for instance.
- 20-22g Round Wire- This is going to be used to lock in the main cabochon. I’ll show you a stylized way to do it, but a single wire can also be used.
- 28g Round Wire- We’re going to use this to secure the back of the cabochon.
- A Cabochon- Any cabochon will work, but generally you’ll use something larger for this style of frame. You’re not going to have a good time using this to secure a 10mm round cabochon for instance.
- Any Accent Gems- You don’t need to use accents, although I generally do. Settings for this accent gems are beyond the scope of this article, but YouTube has plenty of great tutorials until I get around to posting one.
When it comes to wire a lot of people will recommend half-hard wire for the frame itself (the 18 gauge). Personally, I don’t like having to fuss with different wire tempers and only use dead soft material. It only takes a few seconds to harden wire, after all, making dead soft ideal as a starting point since annealing requires a heat source like a torch and more time.
You’ll want the following tools:
- Bail Making Pliers or a Mandrel- Just something stepped and round for when we bring the bail around the back of the piece.
- Mallet- We’ll need to harden the frame after initial construction. Any kind of non-metallic mallet will work fine for this. A steel block is ideal, but any decently hard surface will work fine if you don’t mind a bit of marring.
- Flush Cutters- Flush cutters are necessary for… well, almost any kind of wire work unless you really like using files to smooth clipped ends.
That’s just for the frame, of course. You’ll also want to make sure that you have your normal tools on hand for finishing the rest of the piece once the frame is constructed.
Step 1: Form the Outline
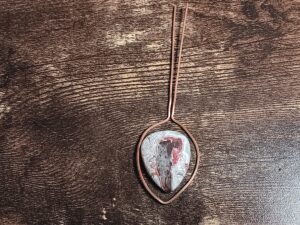
Place your cabochon on a flat surface and cut a length of 18g wire to get started. I find that oval and teardrop cuts are the easiest for this kind of thing, but any shape will work.
You don’t need a whole plan to start this, many of my pieces come about after I’ve locked in the main cabochon and are developed as I cover up any visible parts of the frame with weaves and other embellishments.
I tend to form most of my more basic frames around the cab itself. You don’t want to go too tight on this, since you’ll need room to tie on your embellishments as you complete the piece even if it’s only relatively minor.
So get a rough idea of how much metalwork you want to add, then form the frame roughly around the same shape as the cabochon. You’ll want ~3” left on either side of the initial shape for the best results.
Don’t worry about tying it together just yet, just get the basic shape that you’re looking for and ensure that it lays flat. If the wire twisted while you were forming it then twist it back into a flat shape with pliers, I tend to use curved nose pliers but chain nose or nylon jaws will work fine as well.
Step 2: Forming the Bail

We’re going to form the bail before we do anything else. Take a length of your half round wire and just wrap it up around the two straight up pieces tightly. If you’re unsure of how far to go, then try taking a piece of scrap wire and using your bail forming pliers to form the size you’d like and use that as a guide.
You’ll want another 1” or so of unwrapped wire on the end of it.
If you don’t have half-round, you can also use pretty much any weave with smaller wire. The idea is just to bind the two bits together in a way you find pleasing. I often form a wider bail with a figure-8 weave with five wraps between each cross-over.
If you leave some distance between the wires it’s a good idea to give it a couple whacks with a mallet before wrapping to minimize distortion but an 18 gauge square wire should hold its shape well even if it’s dead soft.
Once you’ve finished the wrapping. Take your bail-forming or round pliers and curl the ends of the wire. Snip cleanly with flush cutters afterward to make sure there are no sharp edges. The curls are going behind the frame, and will serve as an anchoring point.
Step 3: Backing the Cabochon
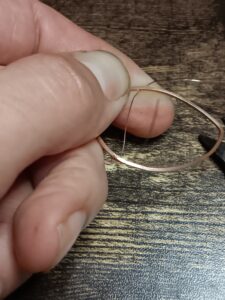
Putting a backing behind the cabochon is our next step. Cut a length of 28 gauge wire, a foot or so should be good for most frames.
To start with, we’re going to come up from the inside of the frame and wrap around three times, leaving ~½ to 1” of tail. Then pass it under the frame and across to the other side, wrap three times, and continue until you’re near the bottom. They don’t need to be super tight, but
Then snip the excess and squish down each series of wraps individually until the wire is flat against the frame. Test them with your thumb nail, as long as the bulk of them don’t move freely you’ll be fine.
It doesn’t take a ton of wire to hold the cabochon in, but you want at least 3-4 wires under the cab itself. I generally just zig-zag the whole back of the frame in case things slip during final construction.
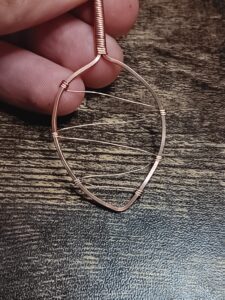
Another way to do it is to use half-round wire, generally 20-22 gauge and cut smaller lengths that will run side to side across the bail in a ladder pattern. Wrap three times, pass under, then wrap three times on the opposite side and clip the excess before squishing the wraps.
Step 4: Work Harden the Frame
Now, we’ll want to harden the frame.
Grab your mallet and a hard surface, and get to tapping. Larger rubber and rawhide mallets can often cover the whole surface at once, otherwise just tap around the perimeter of the frame. With smaller mallets, try not to hit directly on the squished wraps too much as it can cause them to become overly brittle.
Check the toughness after each time around the frame or every 5-6 swings with a larger mallet.
Do not strike the bail at this time. You want that soft for when we pull it over and form it.
Just get it nice and stiff so that you don’t have to deal with any deformation farther down the line.
Step 5: Lock in the Cabochon

Now we’re going to lock the cabochon in.
The simplest way to do this is to cut two pieces of roughly 3-4” of your 22g wire and run them across the cab. Lock them in place by twisting around 2-3 times (which is why square wire is so much better for a frame) and then snip the ends and crush them in.
While you can go over, in this case I recommend bringing the ends down inside the frame and then bringing them back over to tie them in.
Two pieces of wire should be plenty, you can shape them however you’d like as long as it securely locks in the cabochon. For this teardrop I’ve brought them in a small curve from the sides and tied them off on the same side but it is simpler to actually pass over the piece entirely.
You’ll see that I’ve used a simple weave for the pieces I’m using. I generally do this because I don’t like leaving unadorned wire hanging out over the cabochon. That’s a personal thing, I feel that they look unfinished when you do that.
The weave I use is a 5-and-3, which is just five wraps around the first wire, three over both wires, and then repeated until I reach the desired length. The actual weave can be a pain to twist around the outside of the frame, so I figure out how much length I’ll need by by taking a bit of scrap wire and gauging the size then folding it up at each end and comparing them.
You can also incorporate accent gems using this weave, but you’ll want to attach those embellishments first and then work around them. The scrap wire method is awesome for figuring out how much length you’ll need if there are any curves or swoops in this part of the design.
That’s one of the main things I end up using my scrap 22g for, so I always have a 6” or so piece lying around my workbench.
Step 6: Finish the Bail
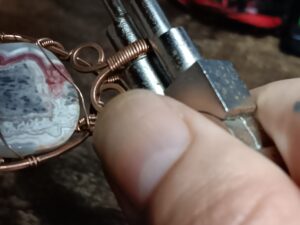
Now, take your bail forming pliers or mandrel and make your bail. I generally aim for 5-6mm to accommodate chains or cords of various sizes, but you can make it whatever side you want.
After forming the initial curve, I like to pinch it together at the base of the bail then round it around the pliers or mandrel again. This gives a sturdy base for attachment if any of your
Your little loops from earlier should either be touching or almost touching the edge of the frame from the inside. Cut a couple of 3-5” bits of your 28 gauge wire and use them to wrap the loops to the frame properly.
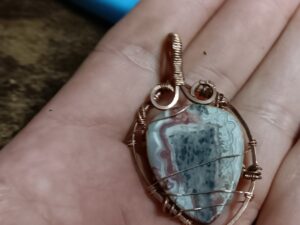
Use pliers to make sure they’re roughly flush with the back of the frame, you don’t want them poking into the back at an angle or it can disrupt your later work.
Step 7: Attach Remaining Gem Settings
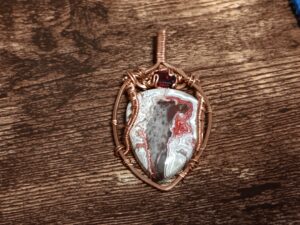
If you’re using accent gems, you can now begin attaching the settings. Most settings are their own distinct components, so you can attach them to the frame however you like once you’ve finished.
While I generally attach my main prong settings before locking in the cabochon, anything like a channel setting or whatever can wait until this step.
As with any embellishment, you just need to get the end wires wrapped around starting from the inside, but it’s fine to go over the outside at this stage. 2-3 times around should do it, but more complex settings like channel sets can have quite a few ends and with a bit of patience it’s often possible to finish them up with just a single full twist due to the added friction.
Step 8: Finish Up and Structure Testing
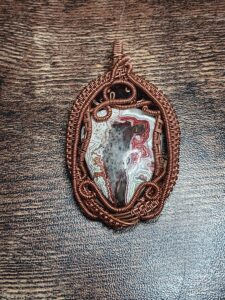
At this point, you’ve got a solid frame with everything locked in.
From here, my goal is to cover the frame from the front and sides so that it’s visible in as few places as possible.
Depending on the size of your frame, you may be able to do this with just one or two weaves, but it’s really at this point that you can just let your creativity take over. You can make it symmetrical, asymmetrical, use spirals or loops, coils and coiled coils, weaves, or whatever you’d like!
The frame itself is ideal, but the bail also serves as a good anchoring place. The one thing to make sure you don’t do is try to tie off on the pieces holding the cabochon in.
Once done, you can manipulate the pieces into their optimal positions and tap lightly with a mallet to work harden and lock even spindly bits into place. Don’t hit too hard here, more taps will do just much as a few strong taps but doesn’t risk damaging the stone.
With each component added, the final piece will become more sturdy. I recommend tweezer nose and curved pliers at this point, which often aren’t available in the most basic kits, because things can get really tight. Especially if you’re just following your inspiration and not a solid plan.
Check for any pokey bits. These can be trimmed or pressed into the frame itself to prevent it from scratching while wearing. I generally drag the piece along my forearm to see if there’s anything sticking out.
Depending on the individual attachment, you may need to use a file or sandpaper (120-220 grit will work fine) to
Once it’s all tied together and smoothed out I generally test my pieces in a two step process:
- I spike the piece as hard as I can onto my mattress and check for structural damage. I don’t think a finished piece has ever failed this test, but it will pop out any accent gems in loose settings.
- I take the piece over a hardwood floor and toss it out 4-5’ from where I’m standing underhanded and check for deformation. Don’t spike it or anything, a light toss does the trick and will show you if you really messed up anywhere.
If it passes those tests, then it’s good to go.
At this point all that’s left is oxidation and final polishing.
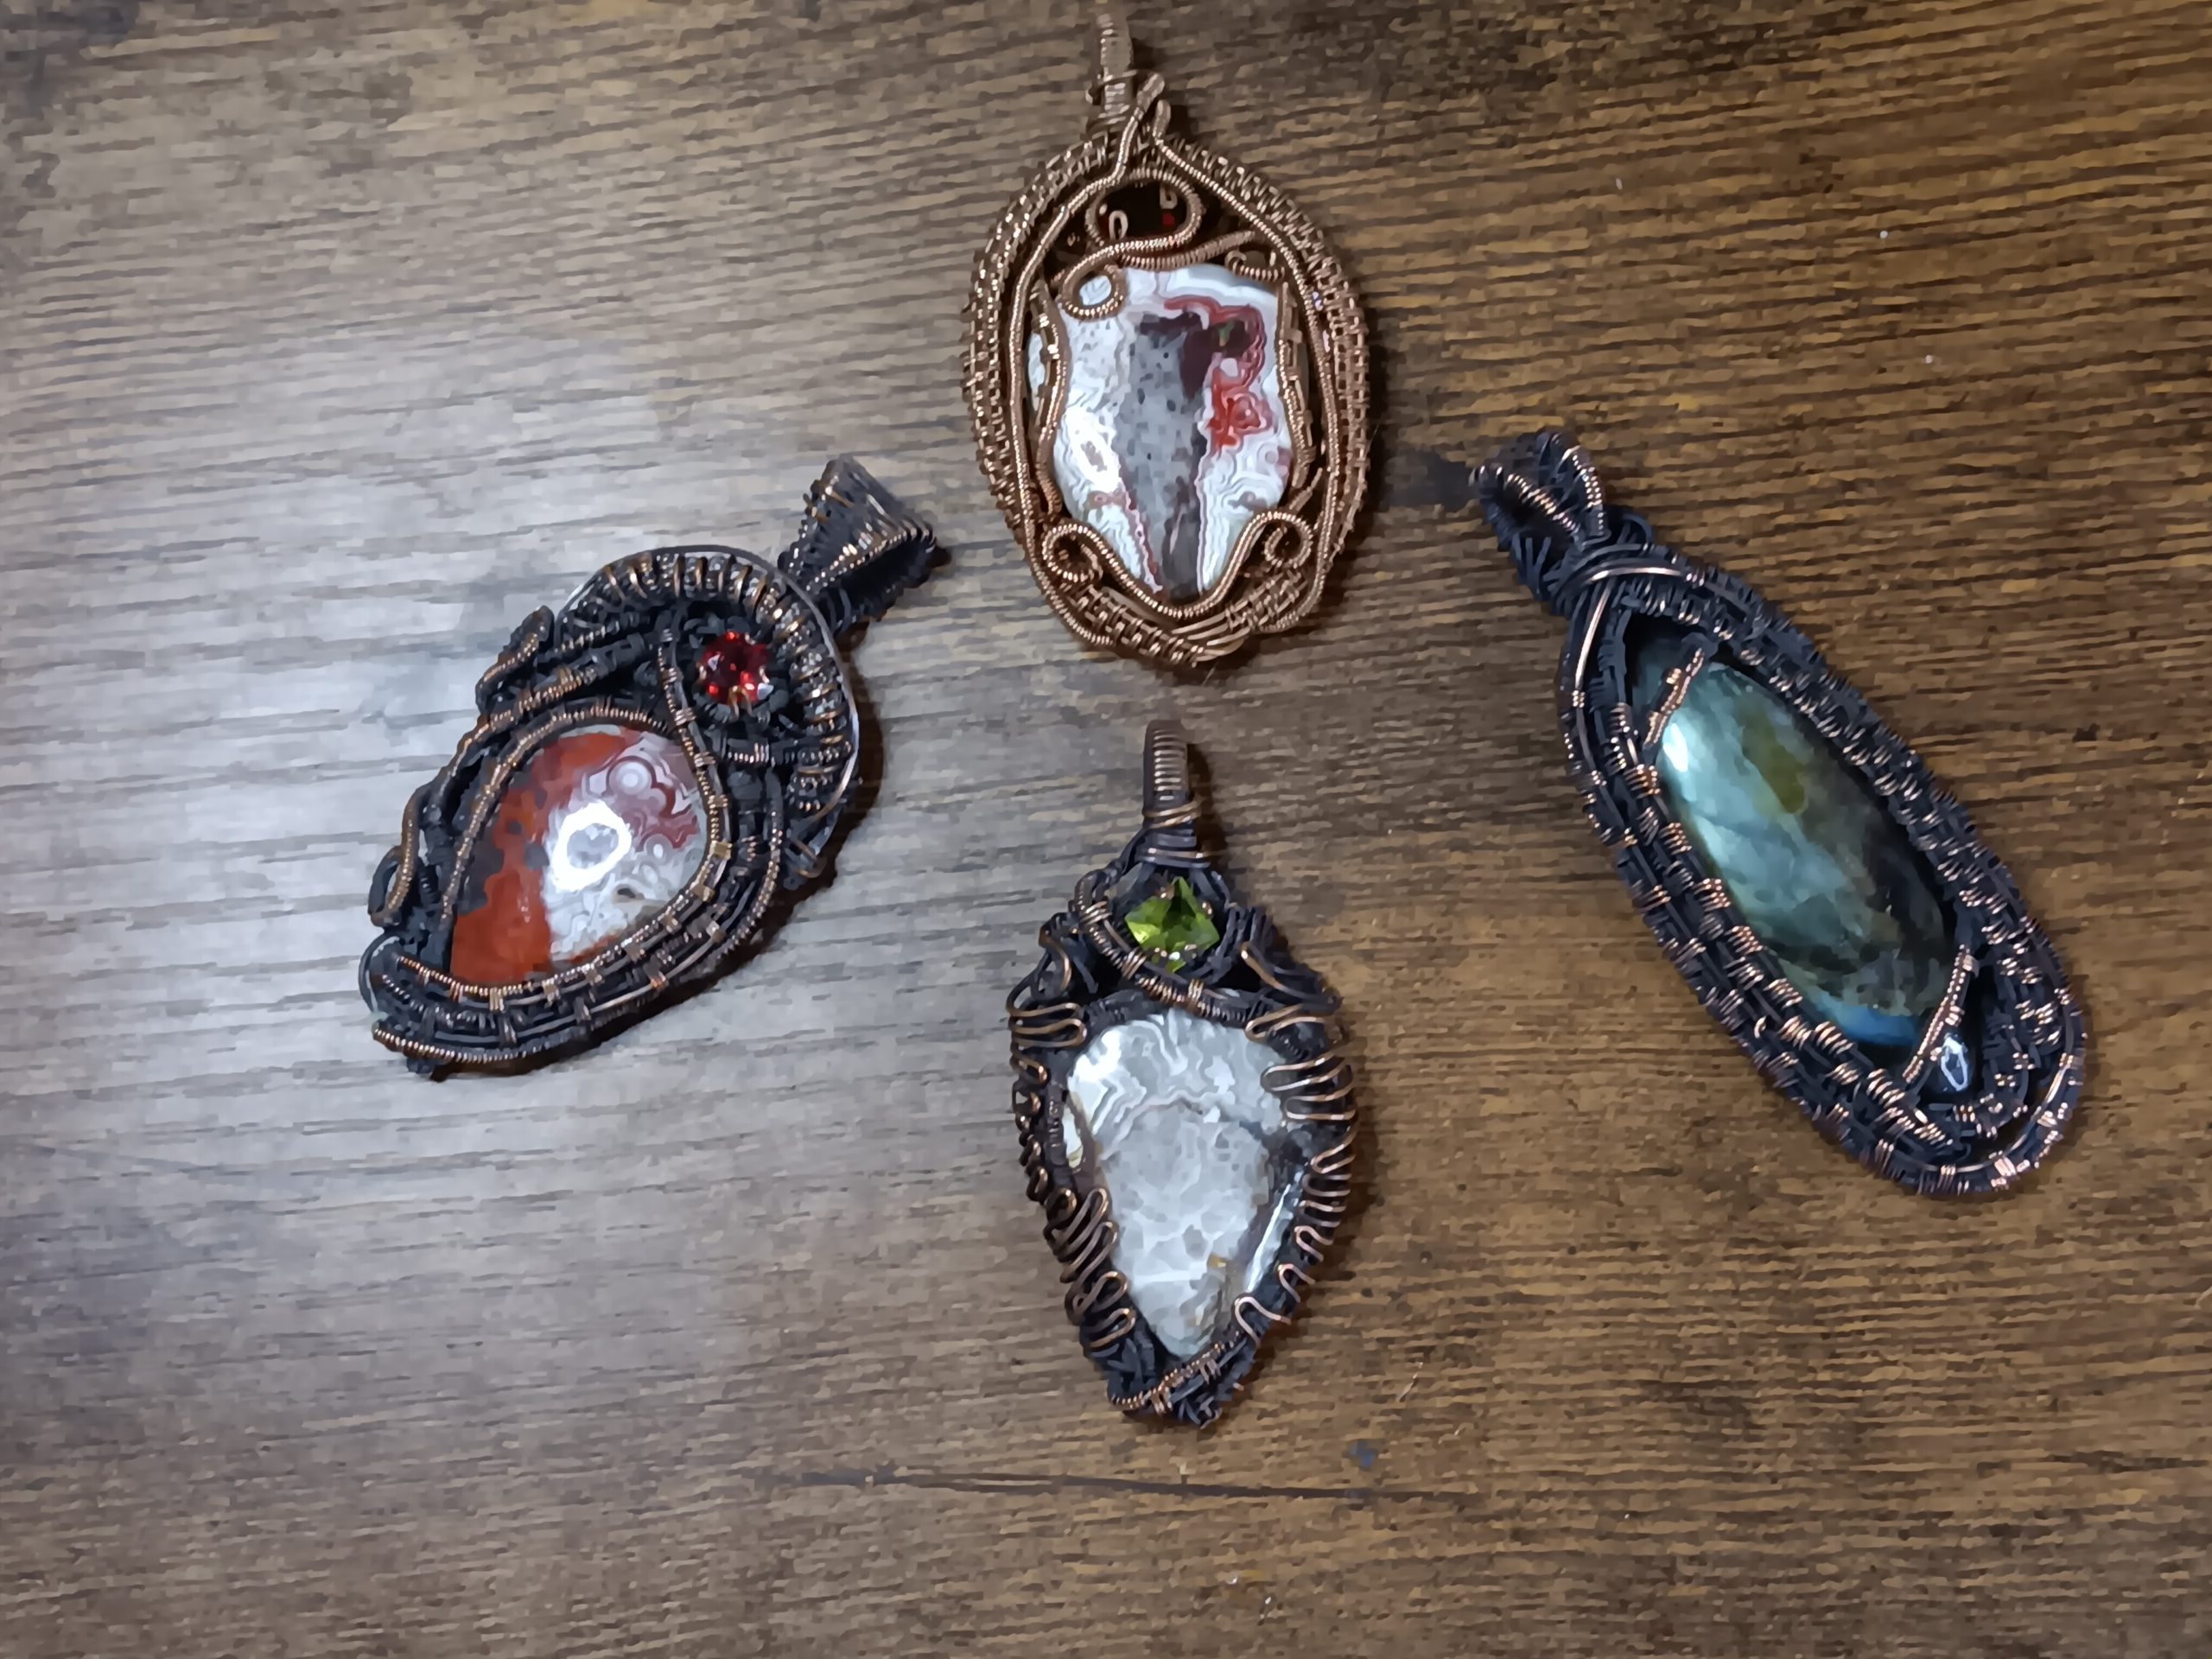
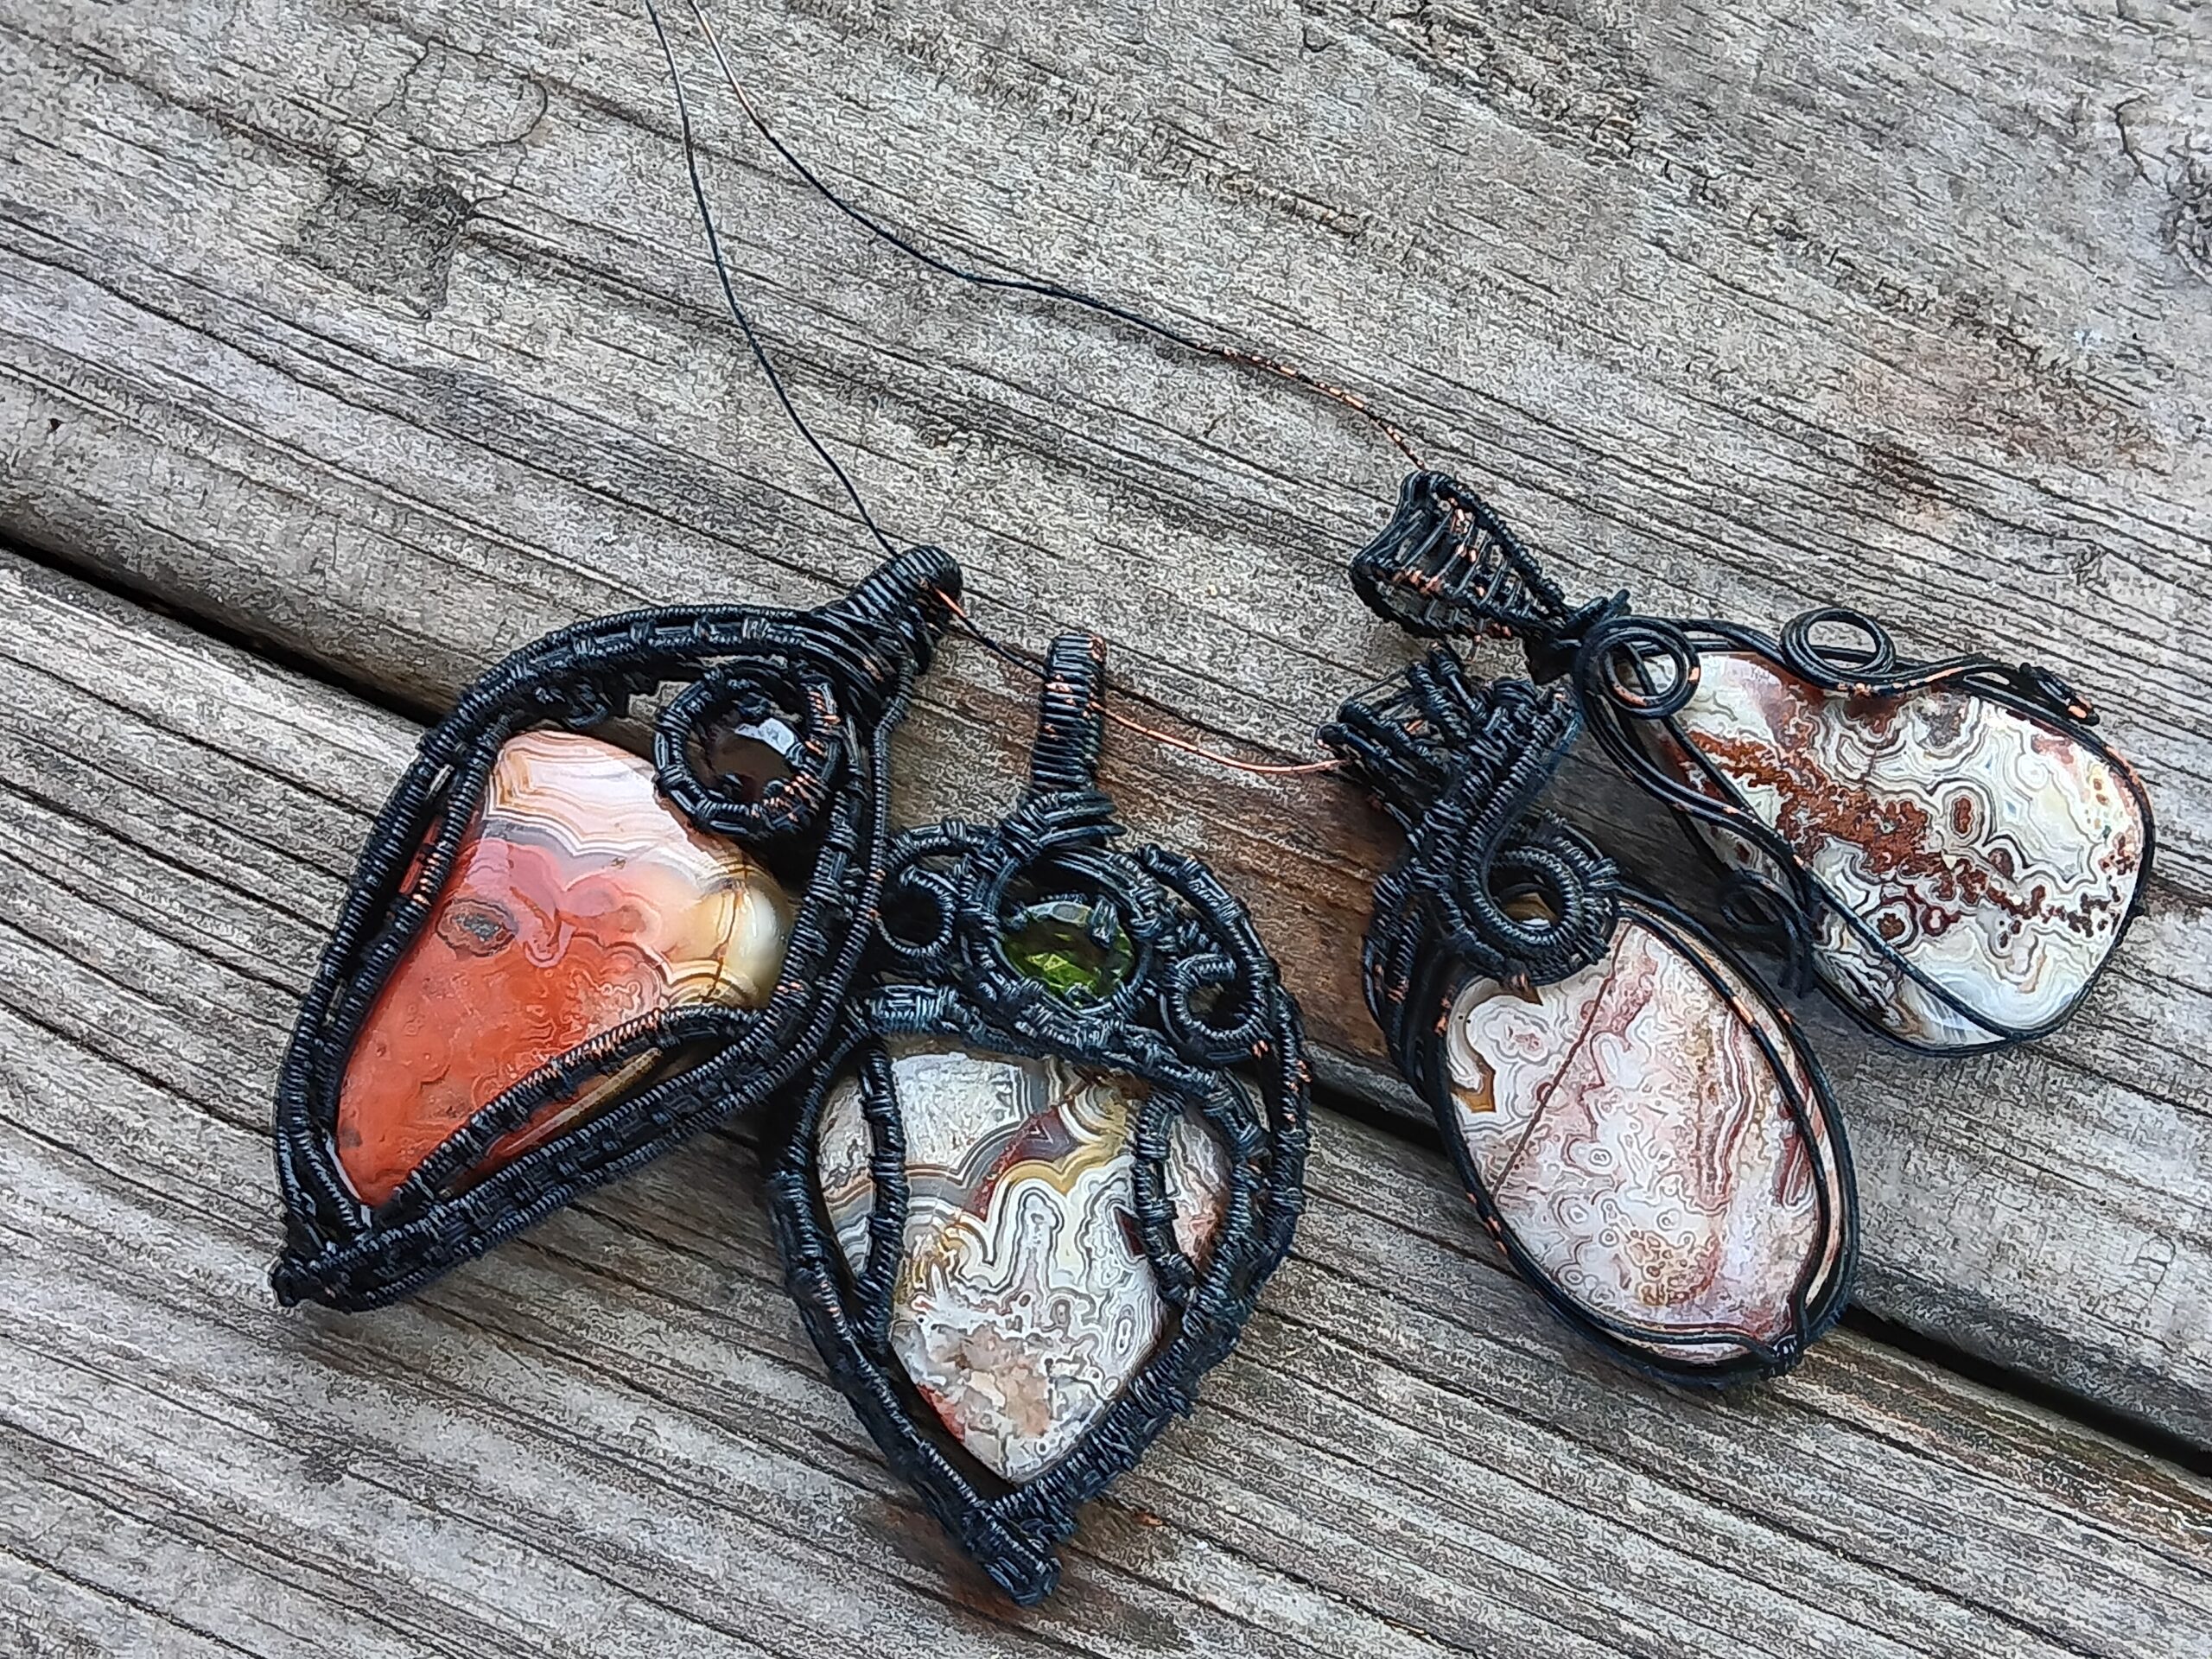
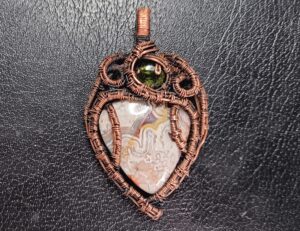
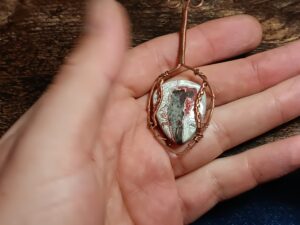
And here’s what I turned this one into in the end:
Now You’ve Been Framed
It’s likely you’ll stray from this guide, I do all the time, but the basic concepts are all here for creating more complex pieces of wire work. I’ve always found that learning how and why you do certain things during the creation of wire jewelry is one of the most important parts of progressing rather than following a tutorial blindly.
Make sure to follow me on Facebook and TikTok, where you’ll also find video versions of my tutorials and smaller tips and tricks that aren’t really big enough for a dedicated article. I’m always open for questions, and I’d love to see anything you’ve created following my guides!

